
Beginner's Guide to Natural Hair: Transitioning & Protective Styles!
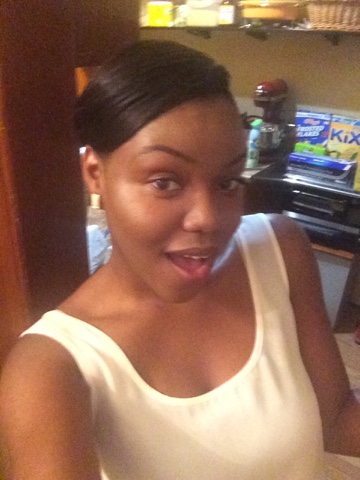
I'm not going to sit here and act like I know everything about natural hair, but I will say that all that I've learned has come from trial and error... well more error than trial...but the bottom line is I'M TRYING. If you told me a couple years ago that I would eventually become a part of team natural I'd probably flick a couple of boogers your way - just kidding that's gross, but honestly I'd think you were insane. I was the perm, queen! I loved the shiny slick feel & look of a fresh perm. The only problem is, with the perm comes the drama. My hair texture is ...interesting. It does what it's told - on a good day, but most of the time it flies in whatever direction it pleases. All the perming and chemicals caused my hair to walk into the direction of extinction, meaning it was breaking off left and right and my edges were missing. Like most women, the winter season was always the toughest. I would comb my hair and watch it fall around me like I was giving it away for free or something.
After numerous chats with my younger cousin Gabbie (hey girl!) I decided I would finally take the plunge and ATTEMPT (because I was certain I wouldn't stick with it) to go natural. My hair was short for about two years before The Big Change and I refused to cut it again, so I started wearing Protective Styles.
After weeks of "intense" research I discovered there are hundreds (maybe I'm over exaggerating) but a bunch of different protective styles to choose from - besides box braids which I absolutely refused to get because they take entirely too long to complete, and it feels like my ass is on fire from sitting down for 7 hours under the constant tugging from the stranger above me braiding my hair... No thank you.
Anyhoo, you can check out some of the protective styles I've achieved so far, as well the type of hair and products I used to achieve my looks.

Brand: African Exports - Reggae Braid
Color: 1B + 1B/33
Products/Tools: Shea Moisture - Strengthen & Grow Restorative Hair Serum, Jamaican Black Castor Oil, Olive Oil, & Lighter
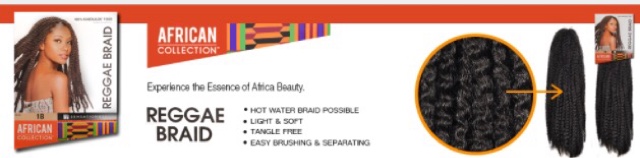
This is what the package looks like - you can probably find it in any beauty supply store. If you're from New york, I got mine at a beauty supply store on Jay Street and Fulton. I can't remember the name of the store, but there are a million out there, you'll find it. Now, if you're not from New York and your local beauty supply store is being annoying because they don't sell this brand you can find it here: African Exports
Protective Style Number 2: Havanna Twists
Havanna Twists have become my go-to protective style because they're easy to put in, easy to maintain and are extremely light (depending on the size of your twists). I prefer my twists to be jumbo - mainly because I think they're cuter that way and it takes less time to do than the smaller ones. The first time I installed them I curled the ends by using perm rods and dipped them in boiling water. These days I am too lazy for all of that so it's left as is (no they do not reel out). I used the same hair brand as my Faux Locs African Exports - Reggae Braid. Reggae Braid and Marley hair are the same, so either will work for your twists. This style usually takes about 5-6 hours (including breaks). Doesn't this style remind you of Janet Jackson in Poetic Justice? Yes!!
Brand: African Exports - Reggae Braid
Products: Shea Moisture - Strengthen & Grow Restorative Hair Serum, Jamaican Black Castor Oil, Cantu - Leave in Conditioner Repair Cream & Cantu Twist and Loc Gel
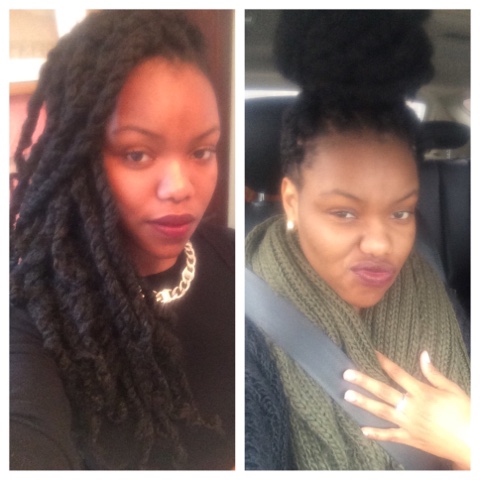
Protective Style Number 3: Crochet Braids Alternative - By Me ;)

In the above picture on the left, you can see the individual braids as well as the parting. Once I was done installing the hair, I did a simple twist out. The picture on the left was taken the day after installment (with twist-out). Doesn't it look natural...like it's all mine. Yes, Girl, IT DOES. The "secret" to achieving the "AU- natural" look is tons of conditioner. Most Marley hair is tough or course, which is inconvenient if you plan on having your hair frame your face. No one wants itchy scratchy hair annoying them all day - but then again you get what you pay for...right? No need to buy crazy expensive hair, you can soften your due a bit by applying conditioner to the hair - (I use either Cantu or Wen) and brushing it thoroughly. This helps if you plan on curling them - as seen in the picture in the above right and below. All in all, the hair is light, and fluffy and blows perfectly in the wind lol.
Brand: African Exports - Reggae Braid
Products/Tools: Olive Oil, Cantu or Wen Conditioner, Perm Rods, Boiling Water
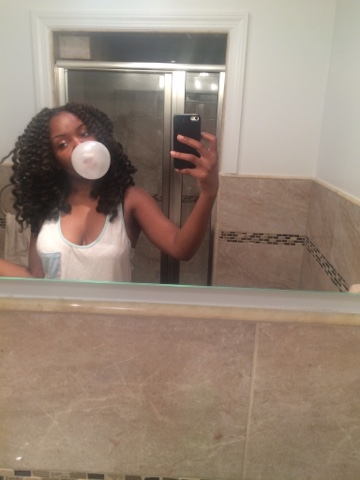 Yes! Full & luscious! As seen in the above picture on the right, the curls were shorter and a bit more springy. I installed the hair again and this time opted for a longer version of the crochet braids. Though I loved the short version the longer one gave me LIFE. I cut the hair to frame my face, of course, and I added more hair. I wanted to make sure that my "fro" would be bouncy and large. I was channeling my inner Diana Ross... #Mission Accomplished.
In between all of these styles I wash, condition, deep condition, and use oil treatments. Remember, the purpose of protective styles are to protect the ends of your hair from breaking, harsh weather etc. Therefore, you MUST take care of your REAL hair while the protective style is installed. MOISTURE IS YOUR BEST FRIEND! I use a mixture of water, olive oil, and Shea Moisture Conditioner in a spray bottle. I spray my scalp three times a week. I read somewhere that natural ingredients such as water & olive oil (or coconut etc.) should be used instead of hair oil. Mainly because, the oil clogs the pores and makes it harder for the scalp to retain moisture. Makes sense doesn't it?
I've been transitioning for about a year now and it's been pretty great. I was nervous about going Natural because I was certain that my hair was going to be nappy and look like a complete mess. Why, because I was the kid that used to scream and holler when mama walked towards me with the comb. That piece of comb was death on a stick, I used to run like hell whenever I saw her with that thing in hand.
Surprisingly enough my hair in it's natural state is actually kind of nice. Don't get me wrong - when I wash and dry my hair there is absolutely no moisture in that thing and it looks crazy...CRAZY. Once, I use my Cantu Coil Calm Detangler and slap some plats/twists in there, combing it the next day is a breeze. That texture is my natural hair texture. Once I figured that out, I was hype. No more weaves or wigs for me!
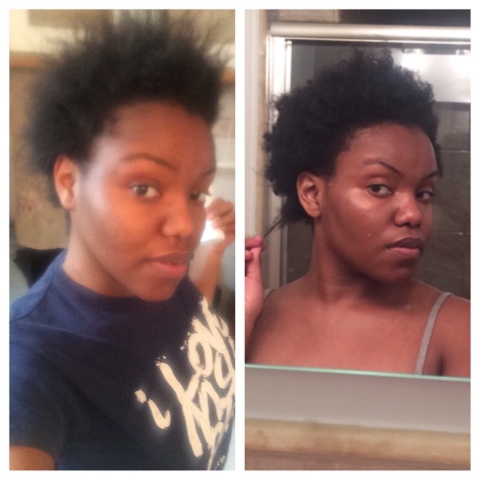 These pictures speak volumes, my friends.
 Clearly the picture on left is totally unhealthy hair. After years of heavy chemicals, my hair slowly but surely started to break off. I was attending University in another state at the time, so I would have to travel all the way back to NY to have my hair stylist help me get my life together. It was brittle, thin, and desperate without my hair crack. The picture on the right was taken last week, isn't it beautiful?! My hair is thicker and fuller than it's ever been and my edges are back - ha! I am actually surprised by the growth. I always had a problem growing my hair but these days it's finally deciding to cooperate. I've read that it takes a good amount of time for you to grow out the permed ends of your hair. In my case, they're disappearing pretty fast. I usually cut the permed ends before I start the Installment. This time around there was barely anything left to cut! I figure by next year this time my hair should be twice this size, which would be Amaze-balls.
Be sure to check in from time to time, as I will be posting updates about my hair progress, and providing transitioning tips, along with other goodies.
Good Day Hair Lovers!
 - Sassy ' N' New York
 Images: (Samsbeauty)
0 comments:
Post a Comment